How to set up the user interface in LS Central deployments
"Don’t reinvent the wheel" is a piece of advice we’ve all heard, and it applies perfectly to configuring the POS user interface in LS Central. There are various POS layouts in the demo database that can serve as great starting points because you can customize them according to your specific needs.
The demo database includes multiple POS profiles for different types of businesses such as fashion stores, supermarkets, restaurants, and hotels. These profiles are linked to specific store terminals and staff IDs, ensuring that each setup is tailored to the business type.
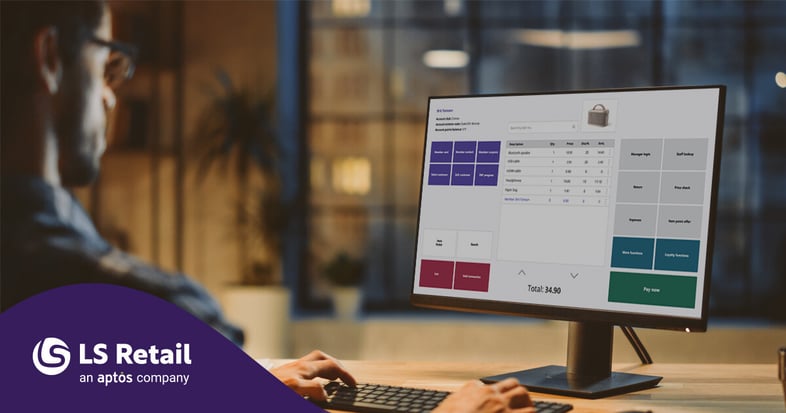
We recommend not altering the ##DEFAULT POS profiles or their components. These profiles and controls are designed to be used across multiple settings within the system. Keeping them unchanged ensures that the active profile selection process works smoothly, such as in the image below.

What is the purpose of the ##DEFAULT Profile?
The default profile serves two main purposes:
- When no profile value is found, the ##DEFAULT Profile automatically becomes the active Profile.
- When the POS does not find data in the active Profile, the POS automatically looks for it in the ##DEFAULT Profile.
How to set up POS Profiles
Start with the ##DEFAULT POS profiles. During LS Central deployments, begin setting up the user interface by adding the ##DEFAULT POS profiles. You can do this by running the “Insert Default Data” function from the Retail Setup page, or by exporting these profiles from a demo database running the same version as the business database.
Choose an existing POS layout. Select one of the existing POS layouts from the demo database and export the related profiles e.g. “#LEO” or “#METRO.” The profile to export depends on the layout you have chosen.
Create customer-specific profiles. Import the ##DEFAULT profiles along with the chosen POS profiles (e.g., “#LEO”, “#METRO”) as the starting point. Once the POS profiles are imported into the customer database, create copies of the chosen profiles with IDs that make sense for the business. Some examples: CC-Coca Cola, KFC-Kentucky Fried Chicken, LS-LS Retail). For naming conventions, refer to our blog: Best practices to follow when defining naming conventions in LS Central. After creating the customer-specific profiles, delete the original profiles to keep the database clean and avoid confusion.
Customize the customer profiles. Next, set up one store and a terminal to use the new profiles. Begin modifying the existing controls to meet the business’ needs. If any ##DEFAULT controls need changes, copy them to the profile and then apply the necessary modifications.
Testing and deployment
It’s important to perform all these steps in a test company to ensure everything works as expected. Once testing is complete, you can move all configured and modified profiles and controls to the production company database. The best way to transfer these settings is by using the “LS Import Export WS.”
Following these basic steps makes it simple to set up the POS user interface during LS Central deployments without starting from scratch. Managing configurations by exceptions in an LS Central project can help you better understand the system and save time, so you can focus on testing and refining any necessary processes.
Have questions about your LS Central implementation? We can help. Contact our team of experts and let us help you ensure a smooth deployment!

Choosing the ideal retail Point of Sale system: 5 factors to consider
